SpringSecurity如何實現配置單個HttpSecurity
一、創建項目并導入依賴
<dependency><groupId>org.springframework.boot</groupId><artifactId>spring-boot-starter-security</artifactId></dependency><dependency><groupId>org.springframework.boot</groupId><artifactId>spring-boot-starter-web</artifactId></dependency>
二、相關配置和代碼
在創建完項目時,我們得springboot項目所有接口都被保護起來了,如果要想訪問必須登陸,用戶名默認是user,密碼在項目啟動時生成在控制臺。
1)我們可以設置自己得賬戶和密碼,有兩種方法配置
1.1)在application.properties中配置
spring.security.user.name=fernfei
spring.security.user.password=fernfei
spring.security.user.roles=admin
1.2)在配置類中配置
注:需要在配置類上加上@configuration注解
步驟1.2.1)
創建SecurityConfig繼承WebSecurityConfigurerAdpater
步驟1.2.2)
實現WebSecurityConfigurerAdpater中的configure(AuthenticationManagerBuilder auth)方法
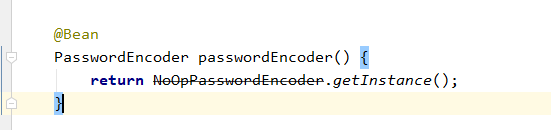
步驟1.2.3)
從 Spring5 開始,強制要求密碼要加密,如果非不想加密,可 以使用一個過期的 PasswordEncoder 的實例
NoOpPasswordEncoder,但是不建議這么做,畢竟不安全。
這樣就算完成自己定義賬戶密碼了。
2)HttpSecurity配置
2.1)實現config(HttpSecurity http)方法
2.2)相關代碼
@Override protected void configure(HttpSecurity http) throws Exception { http.authorizeRequests().antMatchers('/admin/**').hasRole('admin').antMatchers('/db/**').hasAnyRole('admin','user').antMatchers('/user/**').access('hasAnyRole(’admin’,’user’)')//剩下的其他路徑請求驗證之后就可以訪問.anyRequest().authenticated().and().formLogin().loginProcessingUrl('/dologin').loginPage('/login').usernameParameter('uname').passwordParameter('pwd').successHandler(new AuthenticationSuccessHandler() { @Override public void onAuthenticationSuccess(HttpServletRequest request, HttpServletResponse response, Authentication authentication) throws IOException, ServletException { response.setContentType('application/json;charset=utf-8'); PrintWriter pw = response.getWriter(); Map<String, Object> map = new HashMap<String, Object>(); map.put('status', 200); map.put('msg', authentication.getPrincipal()); pw.write(new ObjectMapper().writeValueAsString(map)); pw.flush(); pw.close(); }}).failureHandler(new AuthenticationFailureHandler() { @Override public void onAuthenticationFailure(HttpServletRequest request, HttpServletResponse response, AuthenticationException exception) throws IOException, ServletException { response.setContentType('application/json;charset=utf-8'); PrintWriter pw = response.getWriter(); Map<String, Object> map = new HashMap<String, Object>(); map.put('status', 401); if (exception instanceof LockedException) { map.put('msg', '賬戶被鎖定,登陸失敗!'); } else if (exception instanceof BadCredentialsException) { map.put('msg', '賬戶或者密碼錯誤,登陸失敗!'); } else if (exception instanceof DisabledException) { map.put('msg', '賬戶被禁用,登陸失敗!'); } else if (exception instanceof AccountExpiredException) { map.put('msg', '賬戶已過期,登陸失敗!'); } else if (exception instanceof CredentialsExpiredException) { map.put('msg', '密碼已過期,登陸失敗!'); } else { map.put('msg', '登陸失敗!'); } pw.write(new ObjectMapper().writeValueAsString(map)); pw.flush(); pw.close(); }}).permitAll().and().csrf().disable(); }
2.3)代碼解釋
2.3.1)/admin/**路徑下的必須有admin角色才能訪問
.antMatchers('/admin/**').hasRole('admin')
2.3.2)/db/**和/user/**下的路徑,admin和user角色都可以訪問
.antMatchers('/db/**').hasAnyRole('admin','user')
.antMatchers('/user/**').access('hasAnyRole(’admin’,’user’)')
2.3.3)表示剩下的任何請求只要驗證之后都可以訪問
.anyRequest().authenticated()
2.3.4)開啟表單登陸
.formLogin()
2.3.5)登陸處理的路徑
.loginProcessingUrl('/dologin')
2.3.6)登陸的頁面,如果不寫會使用默認的登陸頁面
.loginPage('/login')
2.3.7)定義登錄時,用戶名的 key,默認為 username
.usernameParameter('uname')
2.3.7)定義登錄時,用戶名的 key,默認為 password
.passwordParameter('pwd')
2.3.8)登陸成功的處理(用于前后端分離時,直接返回json
.successHandler()
紅框里面的類是存放登陸成功后的用戶信息
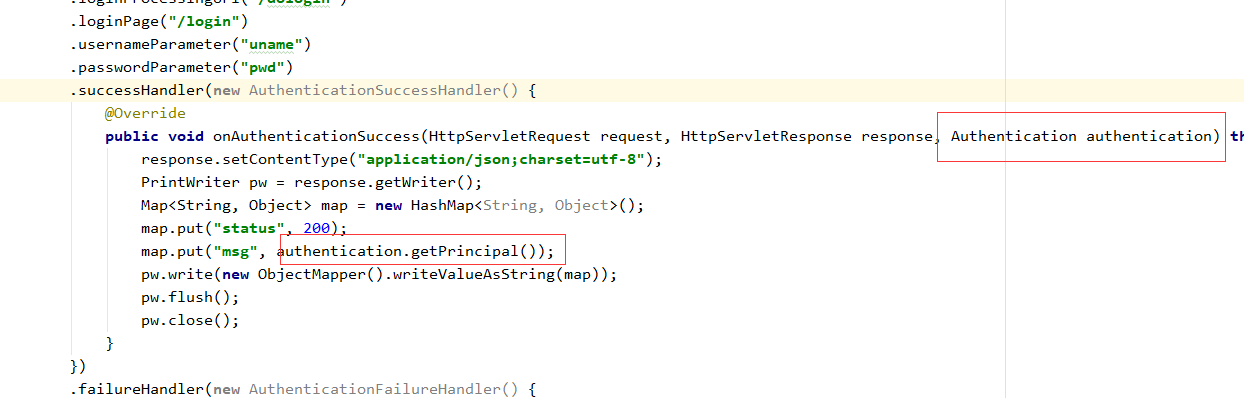
2.3.9)下圖就是登陸成功后直接返回url的方法

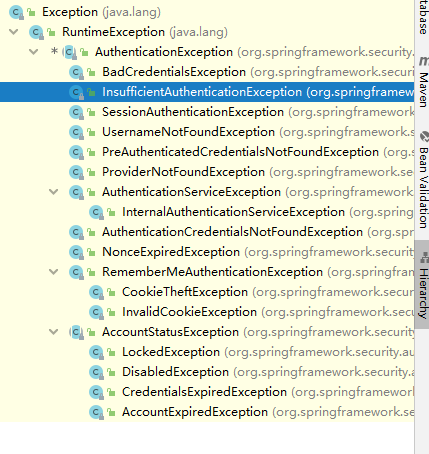
2.3.10)同上,登陸失敗的處理
.failureHandler()
判斷屬于哪個異常可以更友好給用戶作出提示
可以進入這個類按Ctrl+H查看類的繼承關系,方便更好使用

2.3.11)permitALL()表示放開和登陸有關的接口,csrf是關閉csrf,以便我們在 postman類似的軟件測試被系統給攔截了
.permitAll()
.and()
.csrf().disable();
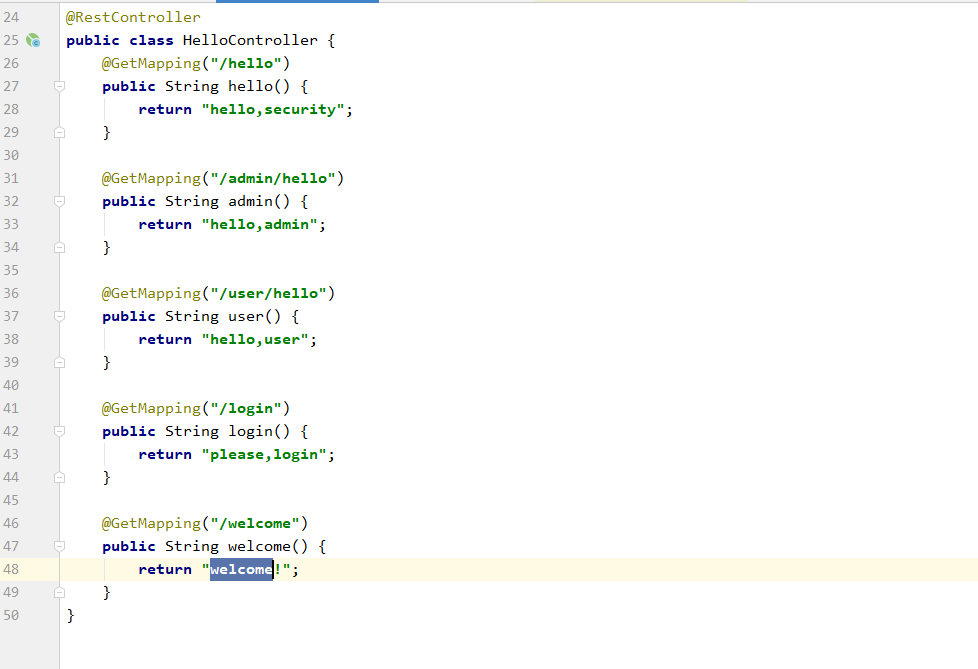
3)controller層設置一些接口以便我們測試
以上就是本文的全部內容,希望對大家的學習有所幫助,也希望大家多多支持好吧啦網。
相關文章:

 網公網安備
網公網安備